 A name can give away a lot. A name with a bold statement also has a lot to live up to. This is one cake, and I think you will agree, which lives up to its name and puts all its cards on the table. In every way, this cake is a golden success.
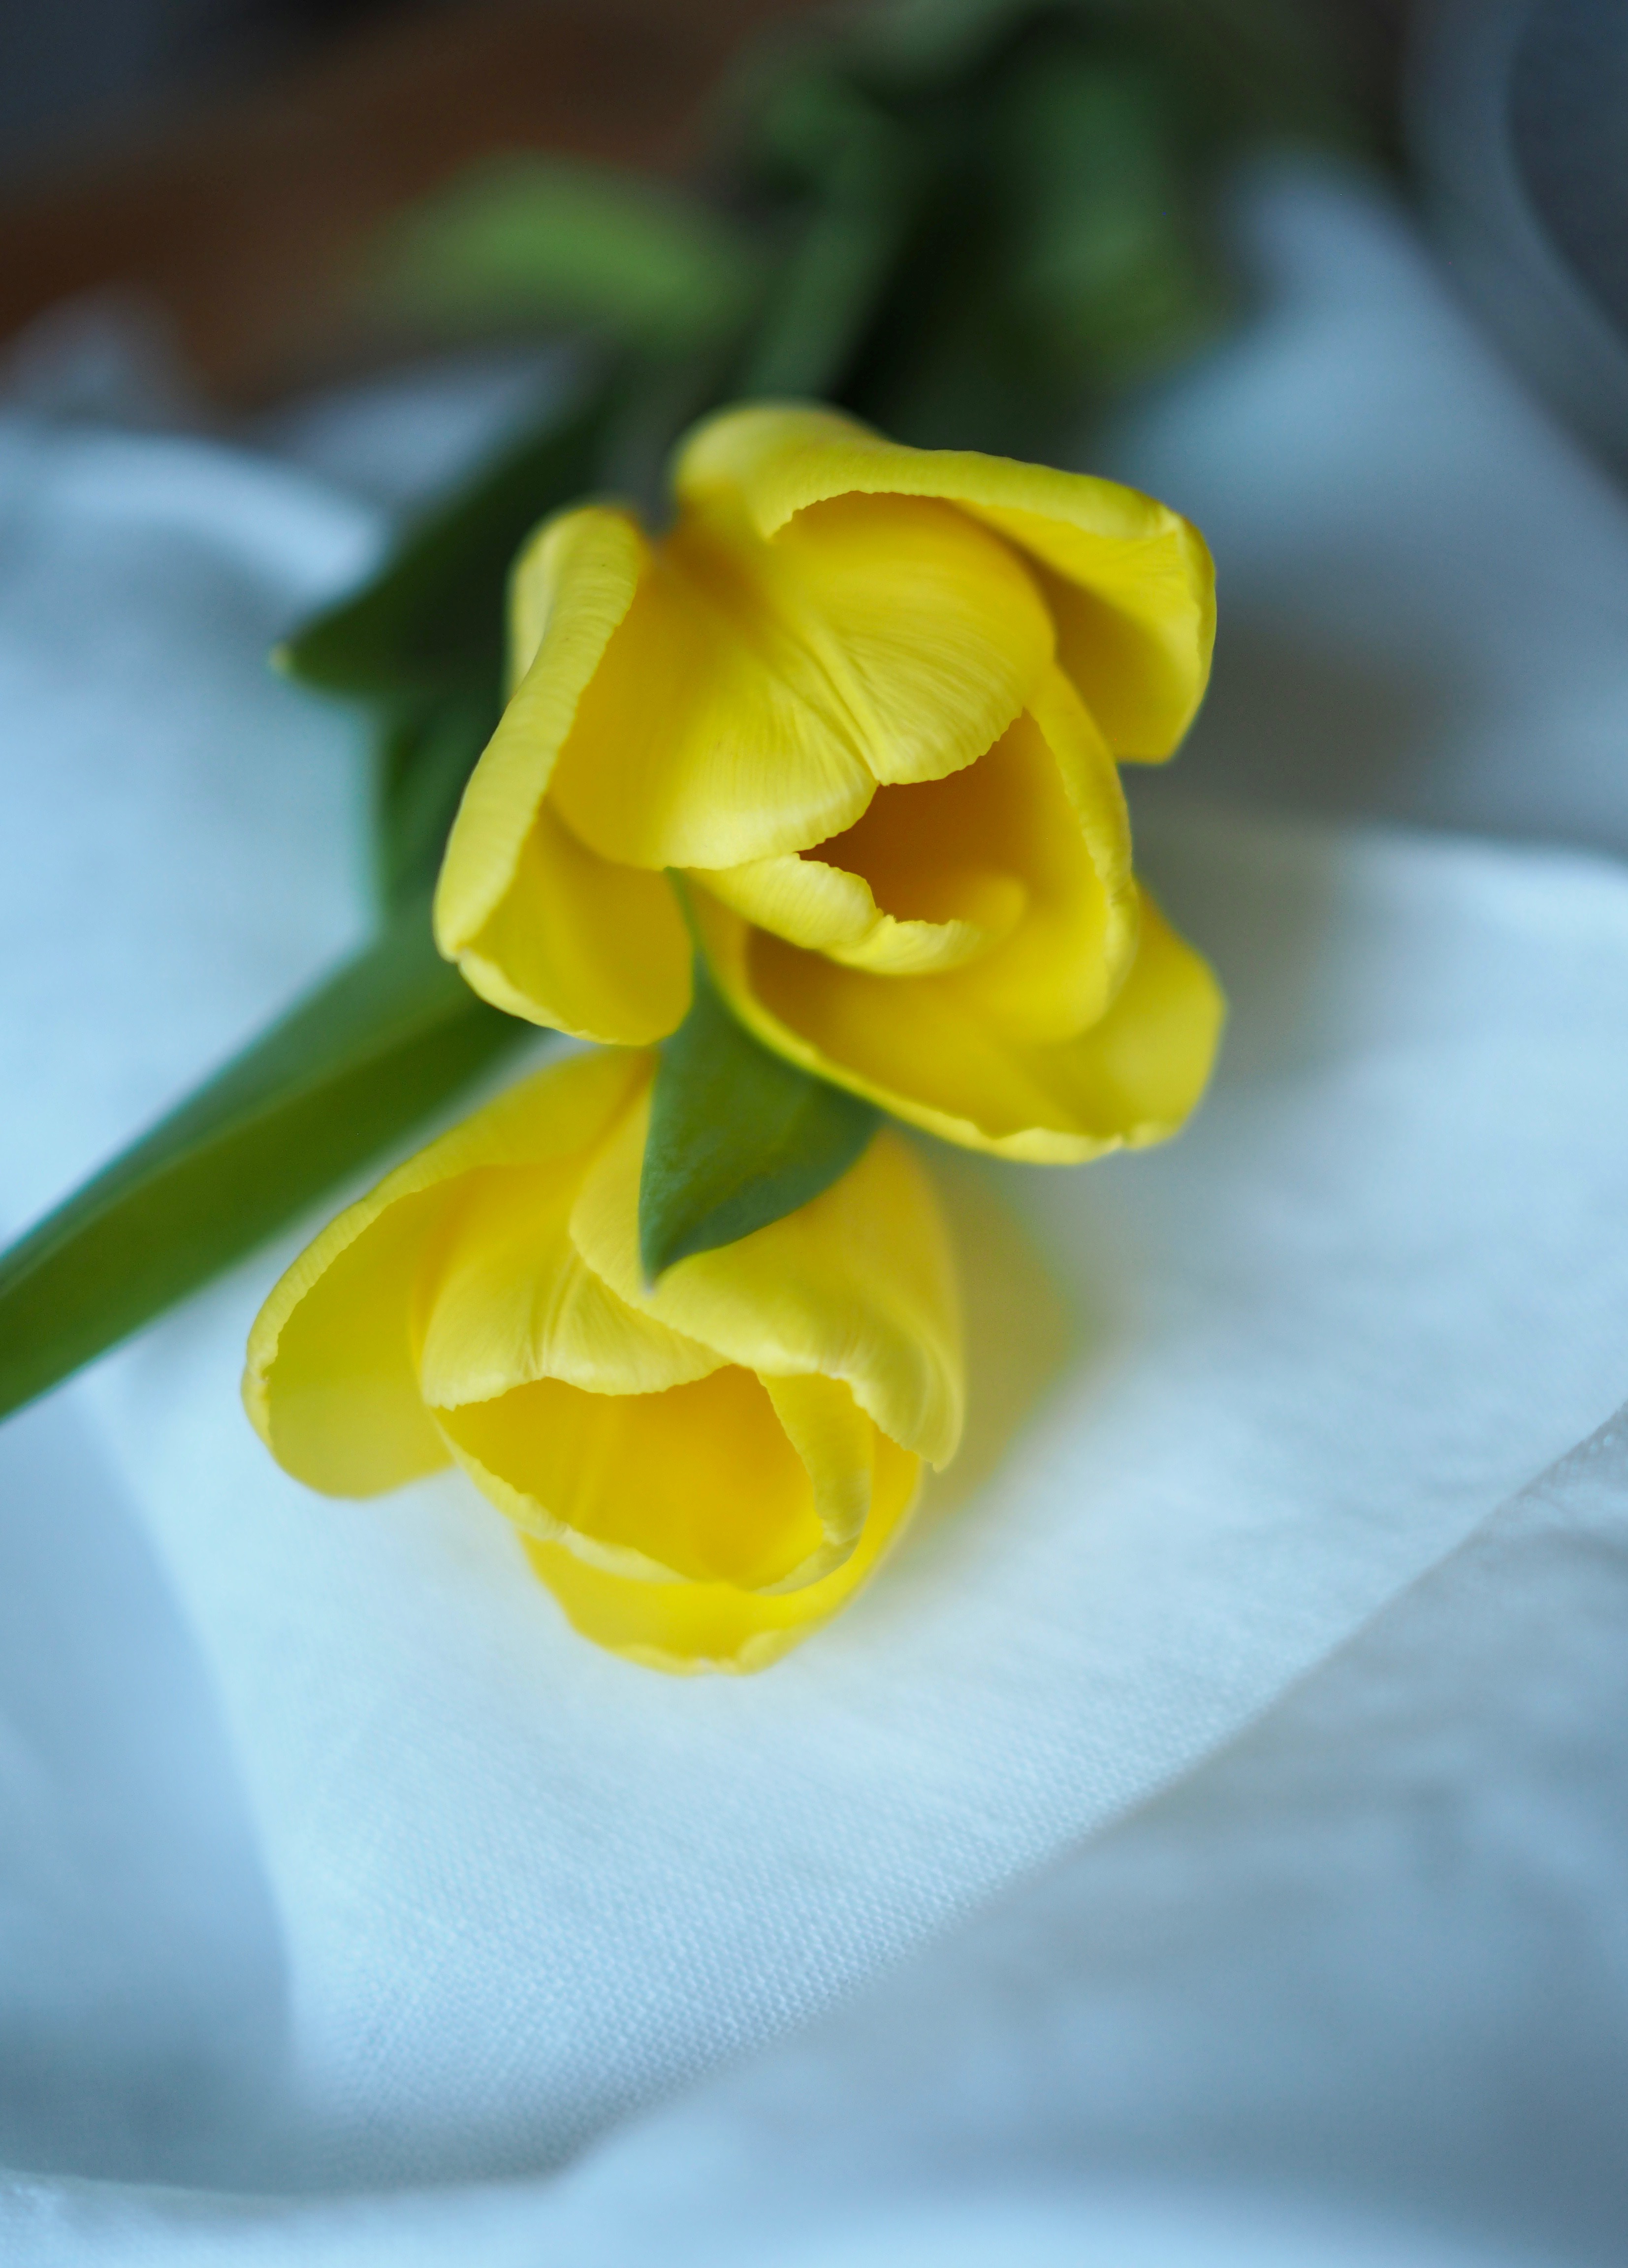
It’s no wonder suksessterte (suksesskake, gulkake) has won the hearts of many. It’s a rich and delicate cake, with a bright hue of yellow. While used year-round for celebrations (confirmations, birthdays and the like), it has, over the years, found a special place during påske/Easter. The bright, golden color and the eggs make it particularly suitable for this time of year. Even nature tends to nod in agreement with the first bulbs of spring sprouting yellow.
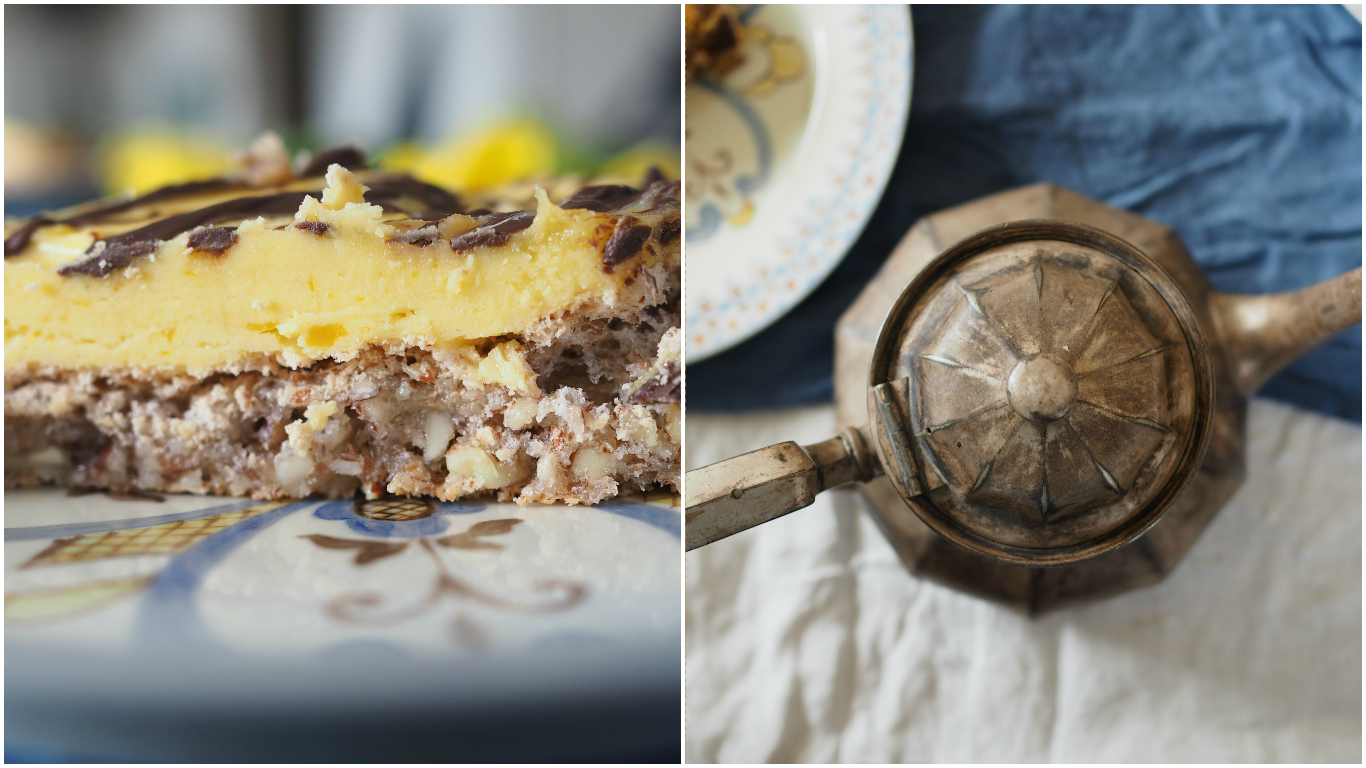
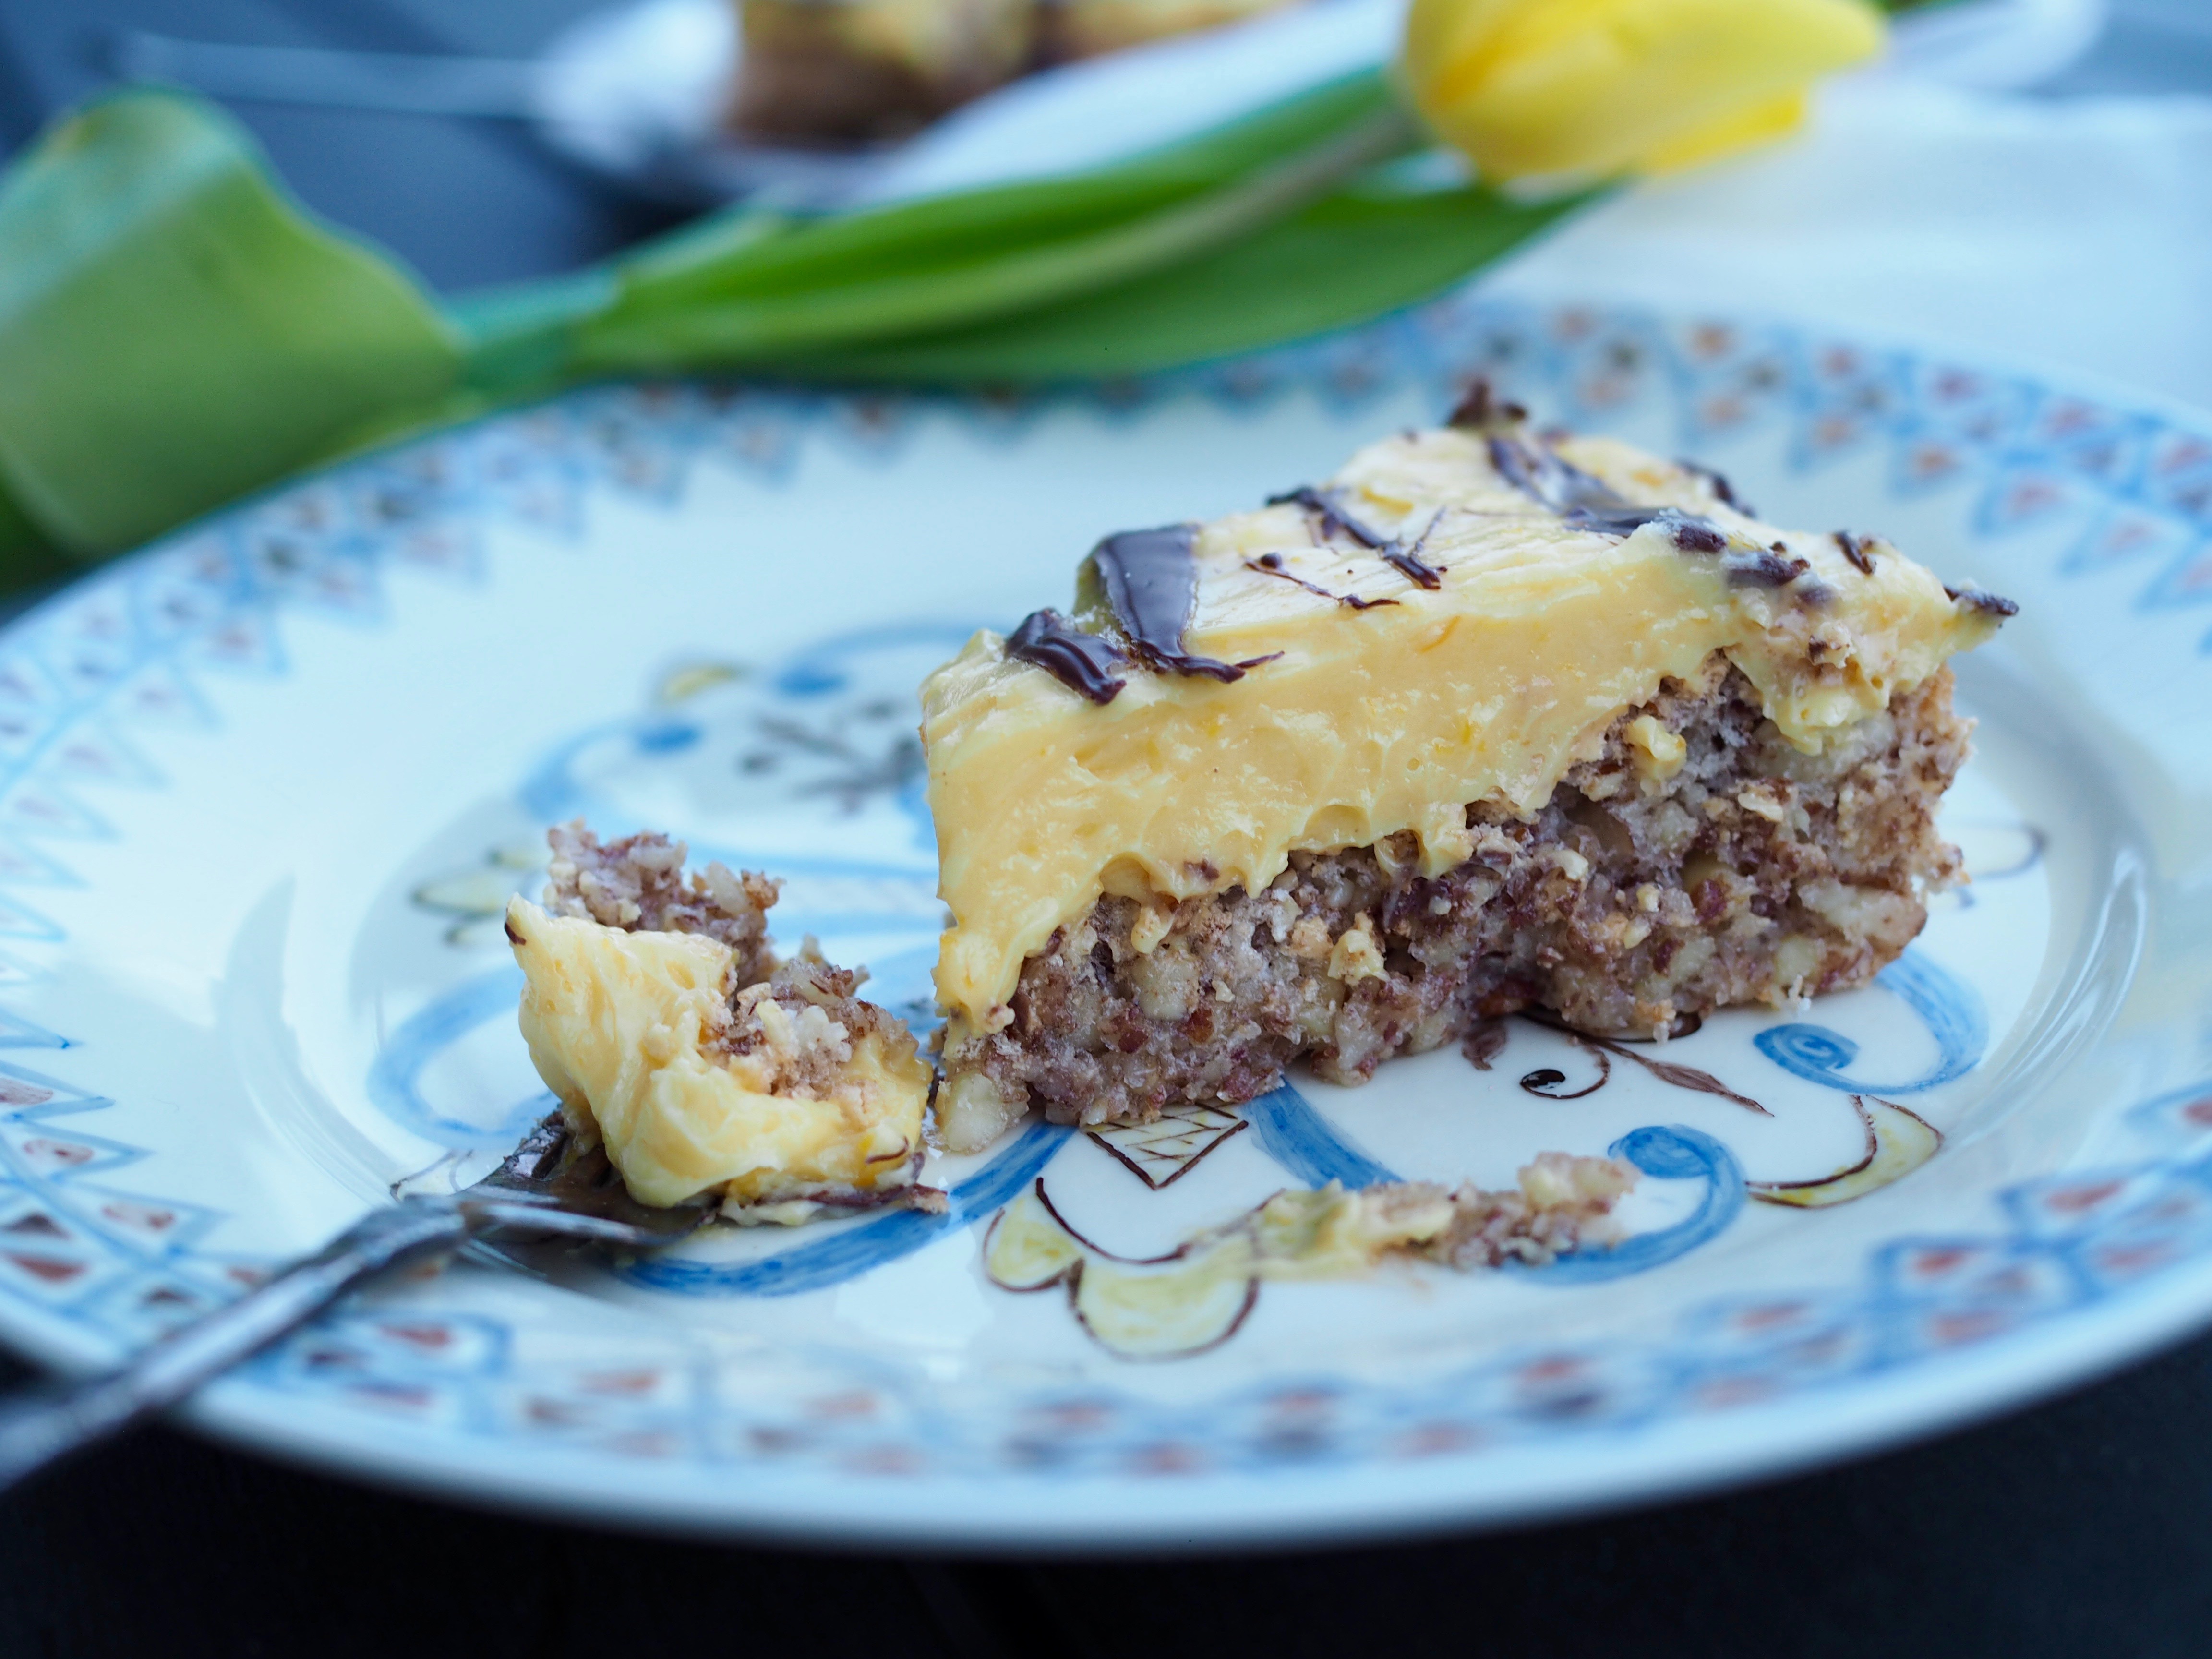
Not to mention it’s gluten-free, with a macaron bottom that proves to be irresistible. The simple custard whipped together with a generous amount of butter doesn’t hurt either.
 There are a few stories relating to where this cake originated from, or perhaps more accurately, evolved out of. The majority tend to trace its Norwegian roots back to eastern Finnmark, particularly to Vardø and Vadsø. Suksessterte is one of several cakes that are typical of this area. The trade routes along the coast contributed greatly to the large selection and specialities, and many of the baked goods originated out of France and Austria. Suksesskake was most likely introduced (in some form or another) by the foreign bakers and/or recipes, which made their way to this area.
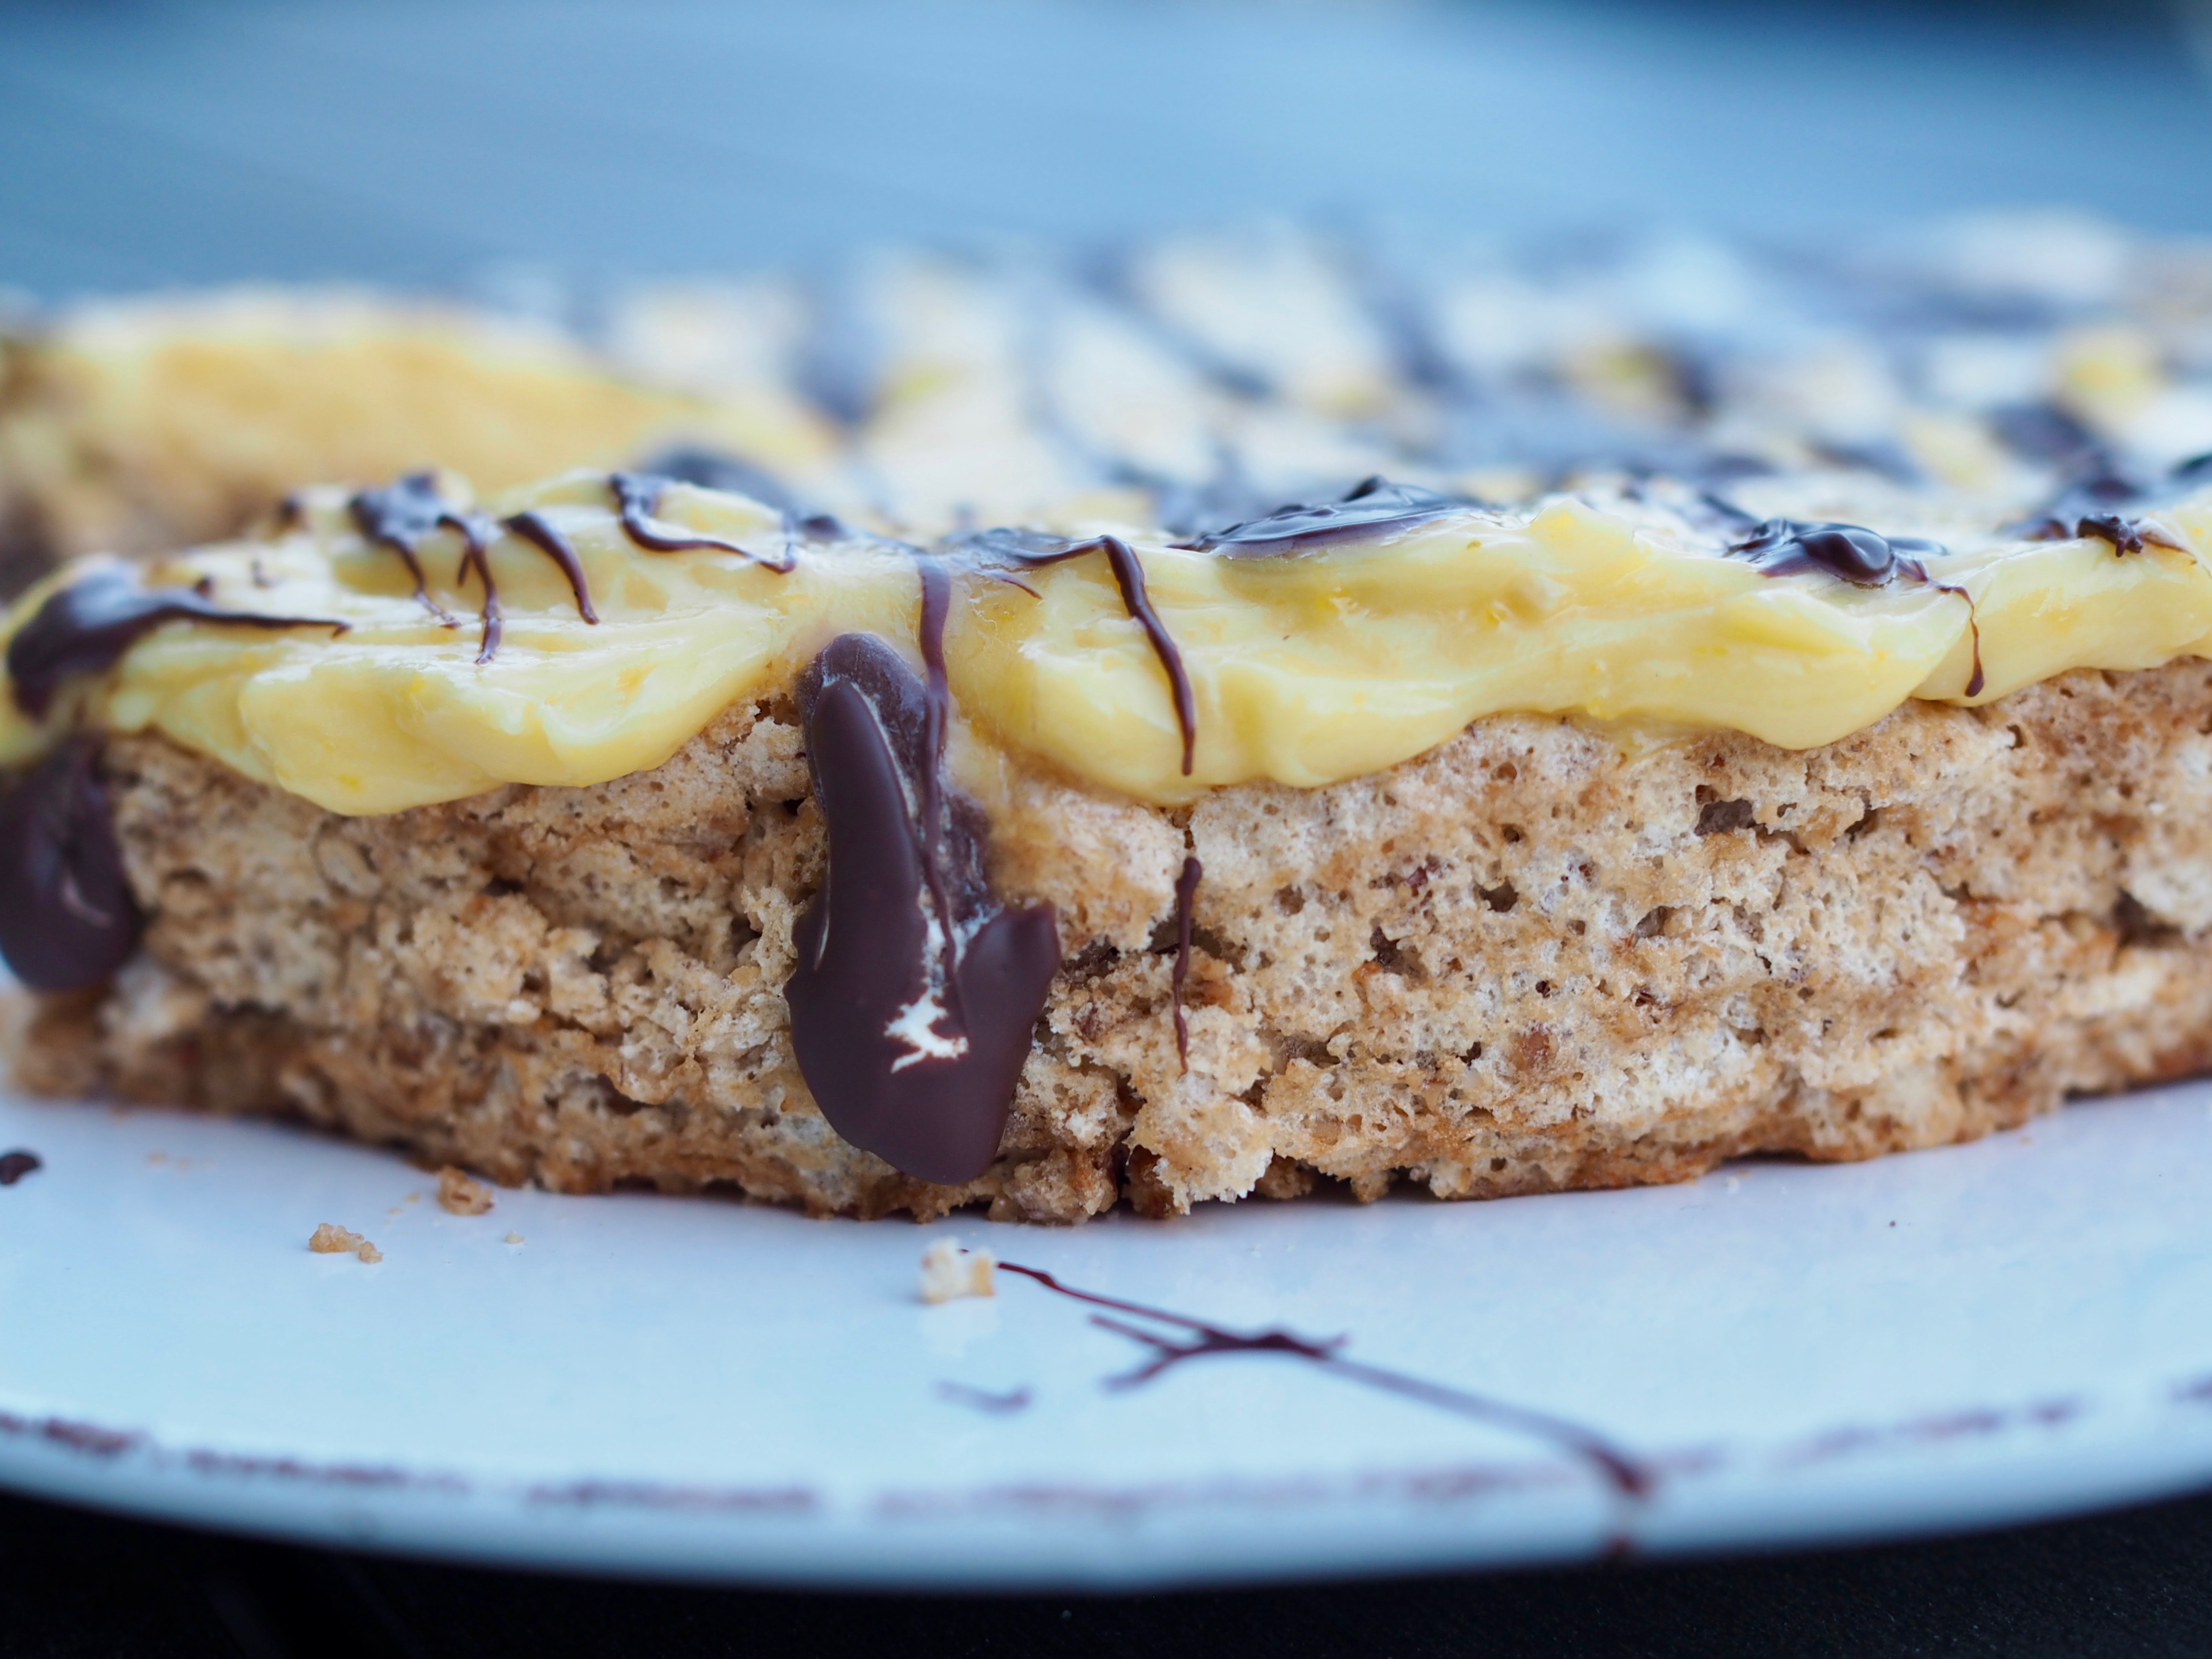
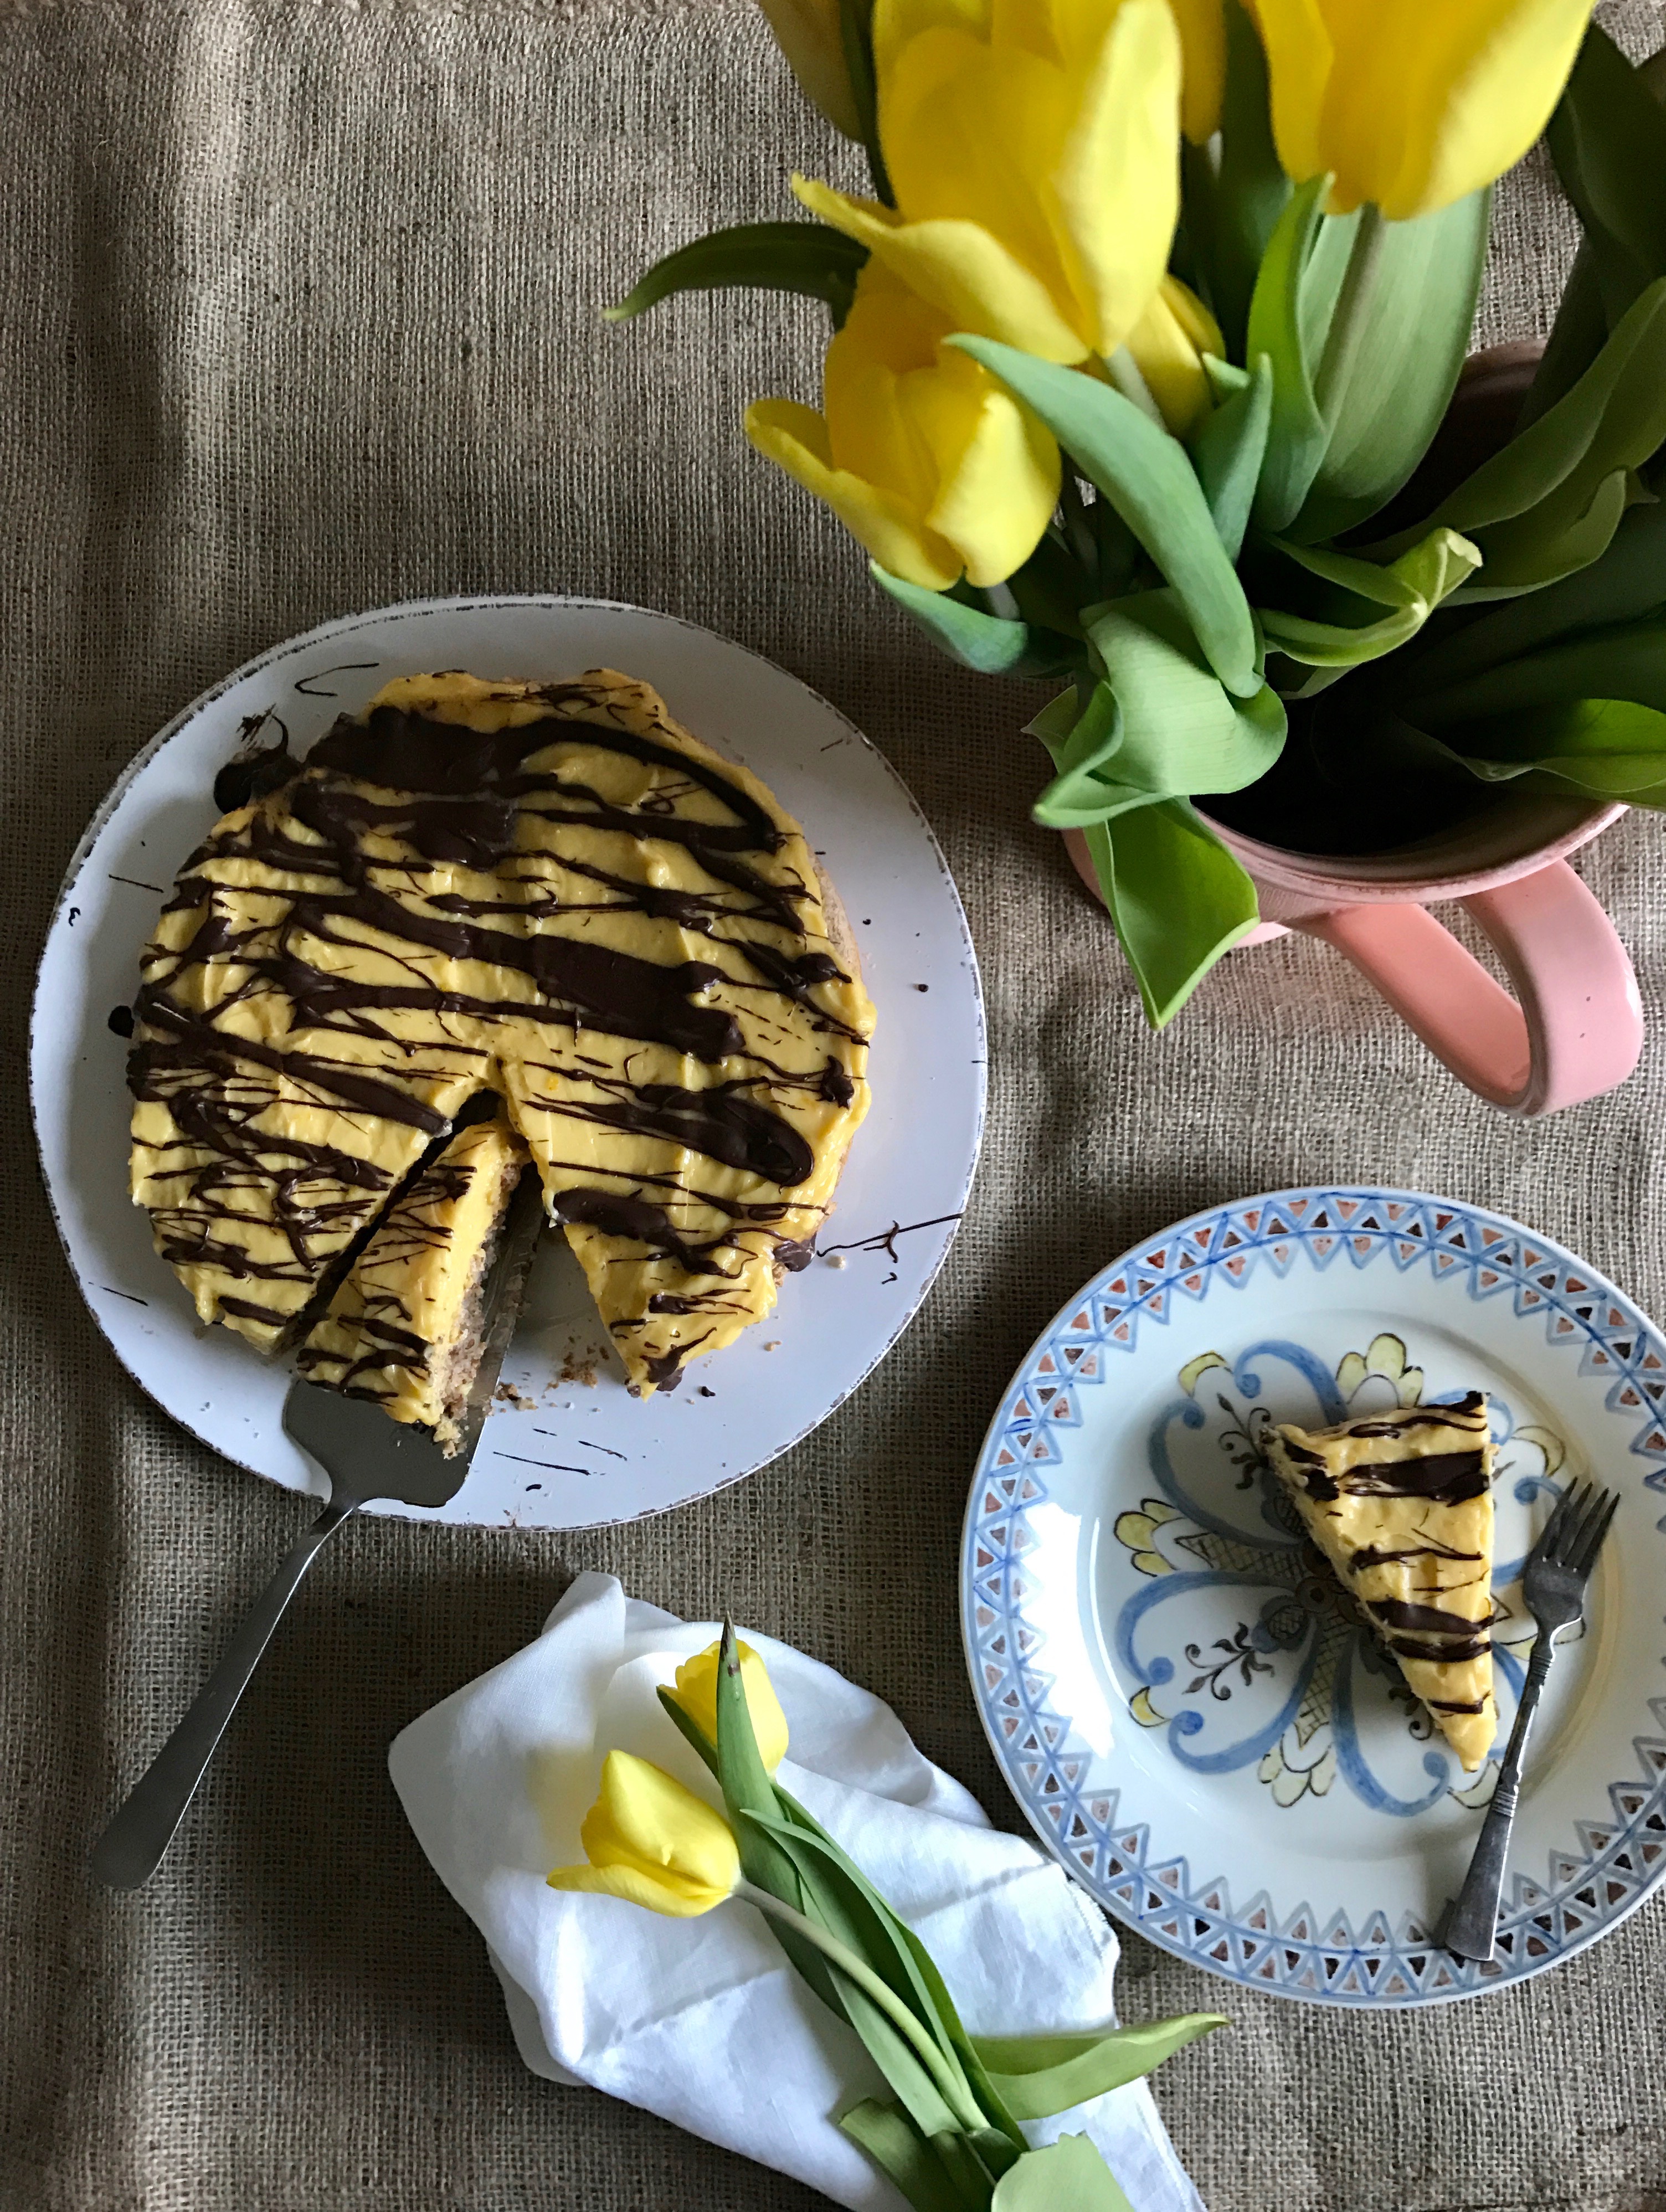
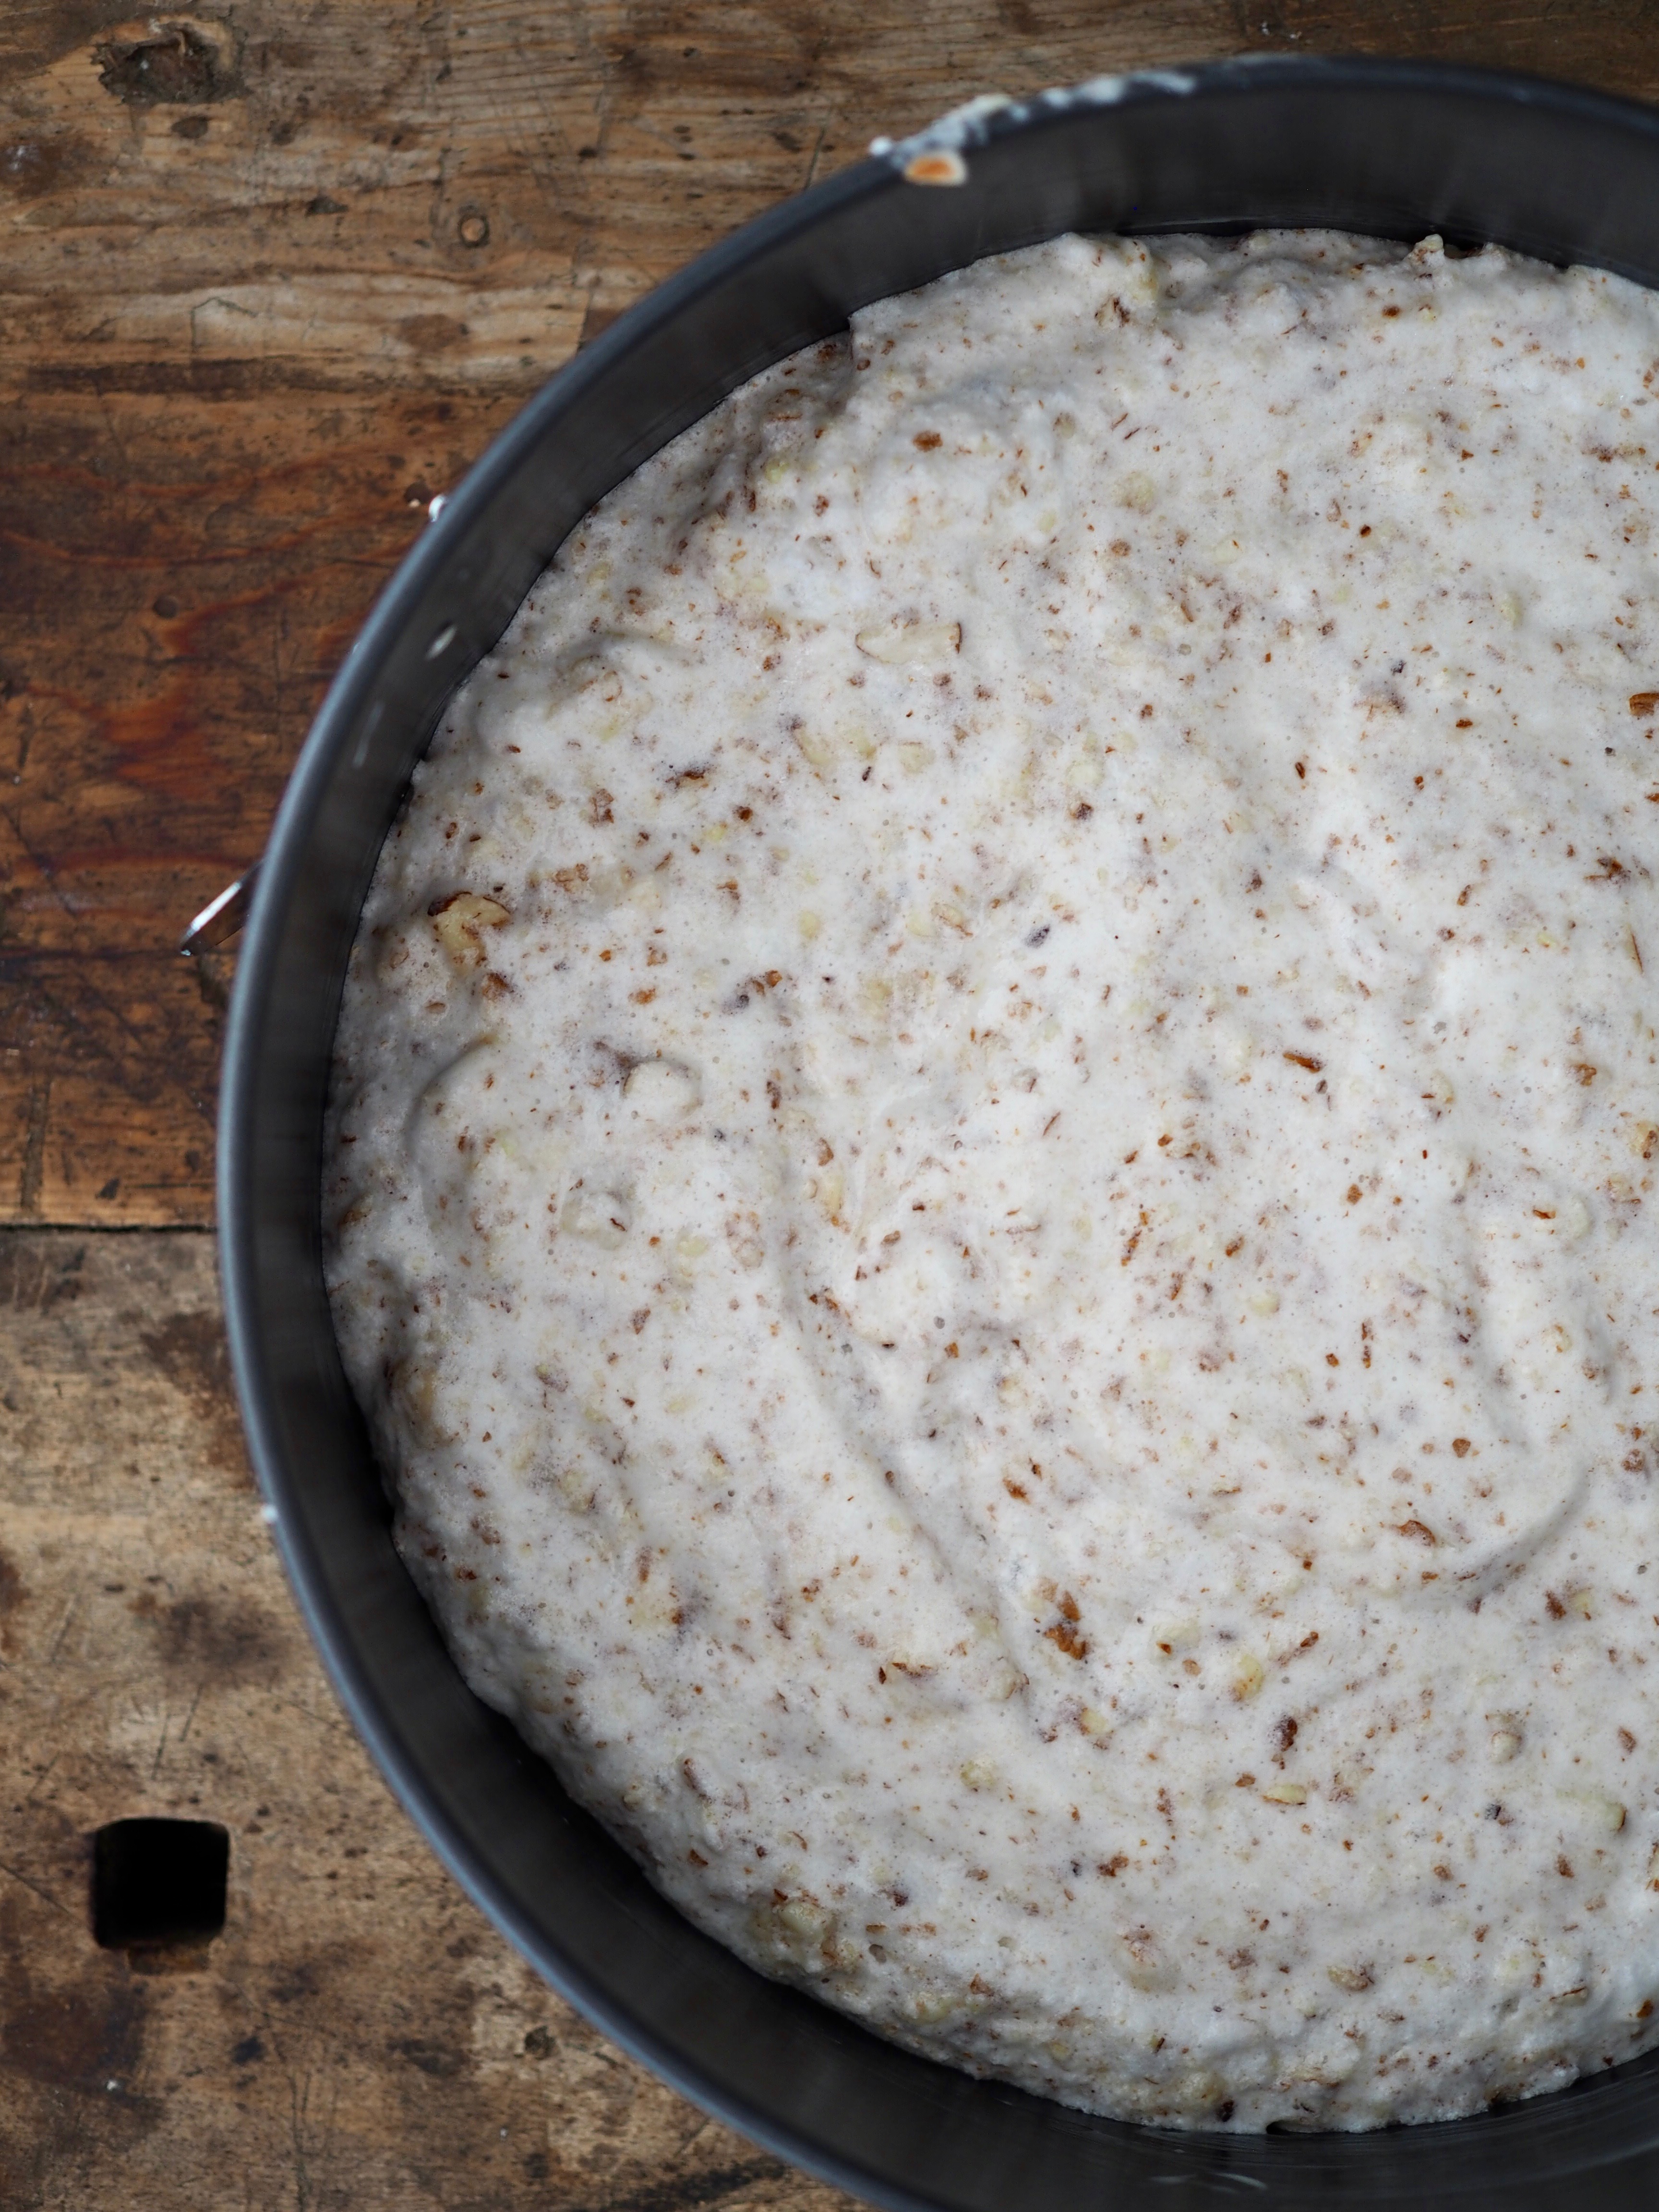 There’s not a whole lot of variation of this cake across Norway, other than perhaps the addition of chocolate and the type of nut used for the bottom. I prefer a splatter of dark chocolate on top, which helps cut through the richness and add a nice texture against the cream. This cake is really simple to make and freezes well – so there really is no excuse not to make this. It’s a win-win all around.
Norwegian Success Tart (Suksessterte)
Ingredients:
Almond Bottom
- 5 egg whites
- 1 2/3 cups (200 g) powdered sugar
- 1 ½ cups (200 g) almonds (and/or hazelnuts or nuts of your choice)
Yellow Cream
- 5 egg yolks
- 3/4 cup plus 1 tablespoon (2 dl) heavy cream
- ¾ cup (150 g) sugar
- 1 teaspoon vanilla extract
- 2/3 cup (150 g) butter, softened at room temperature
__
- 1 bar of dark chocolate
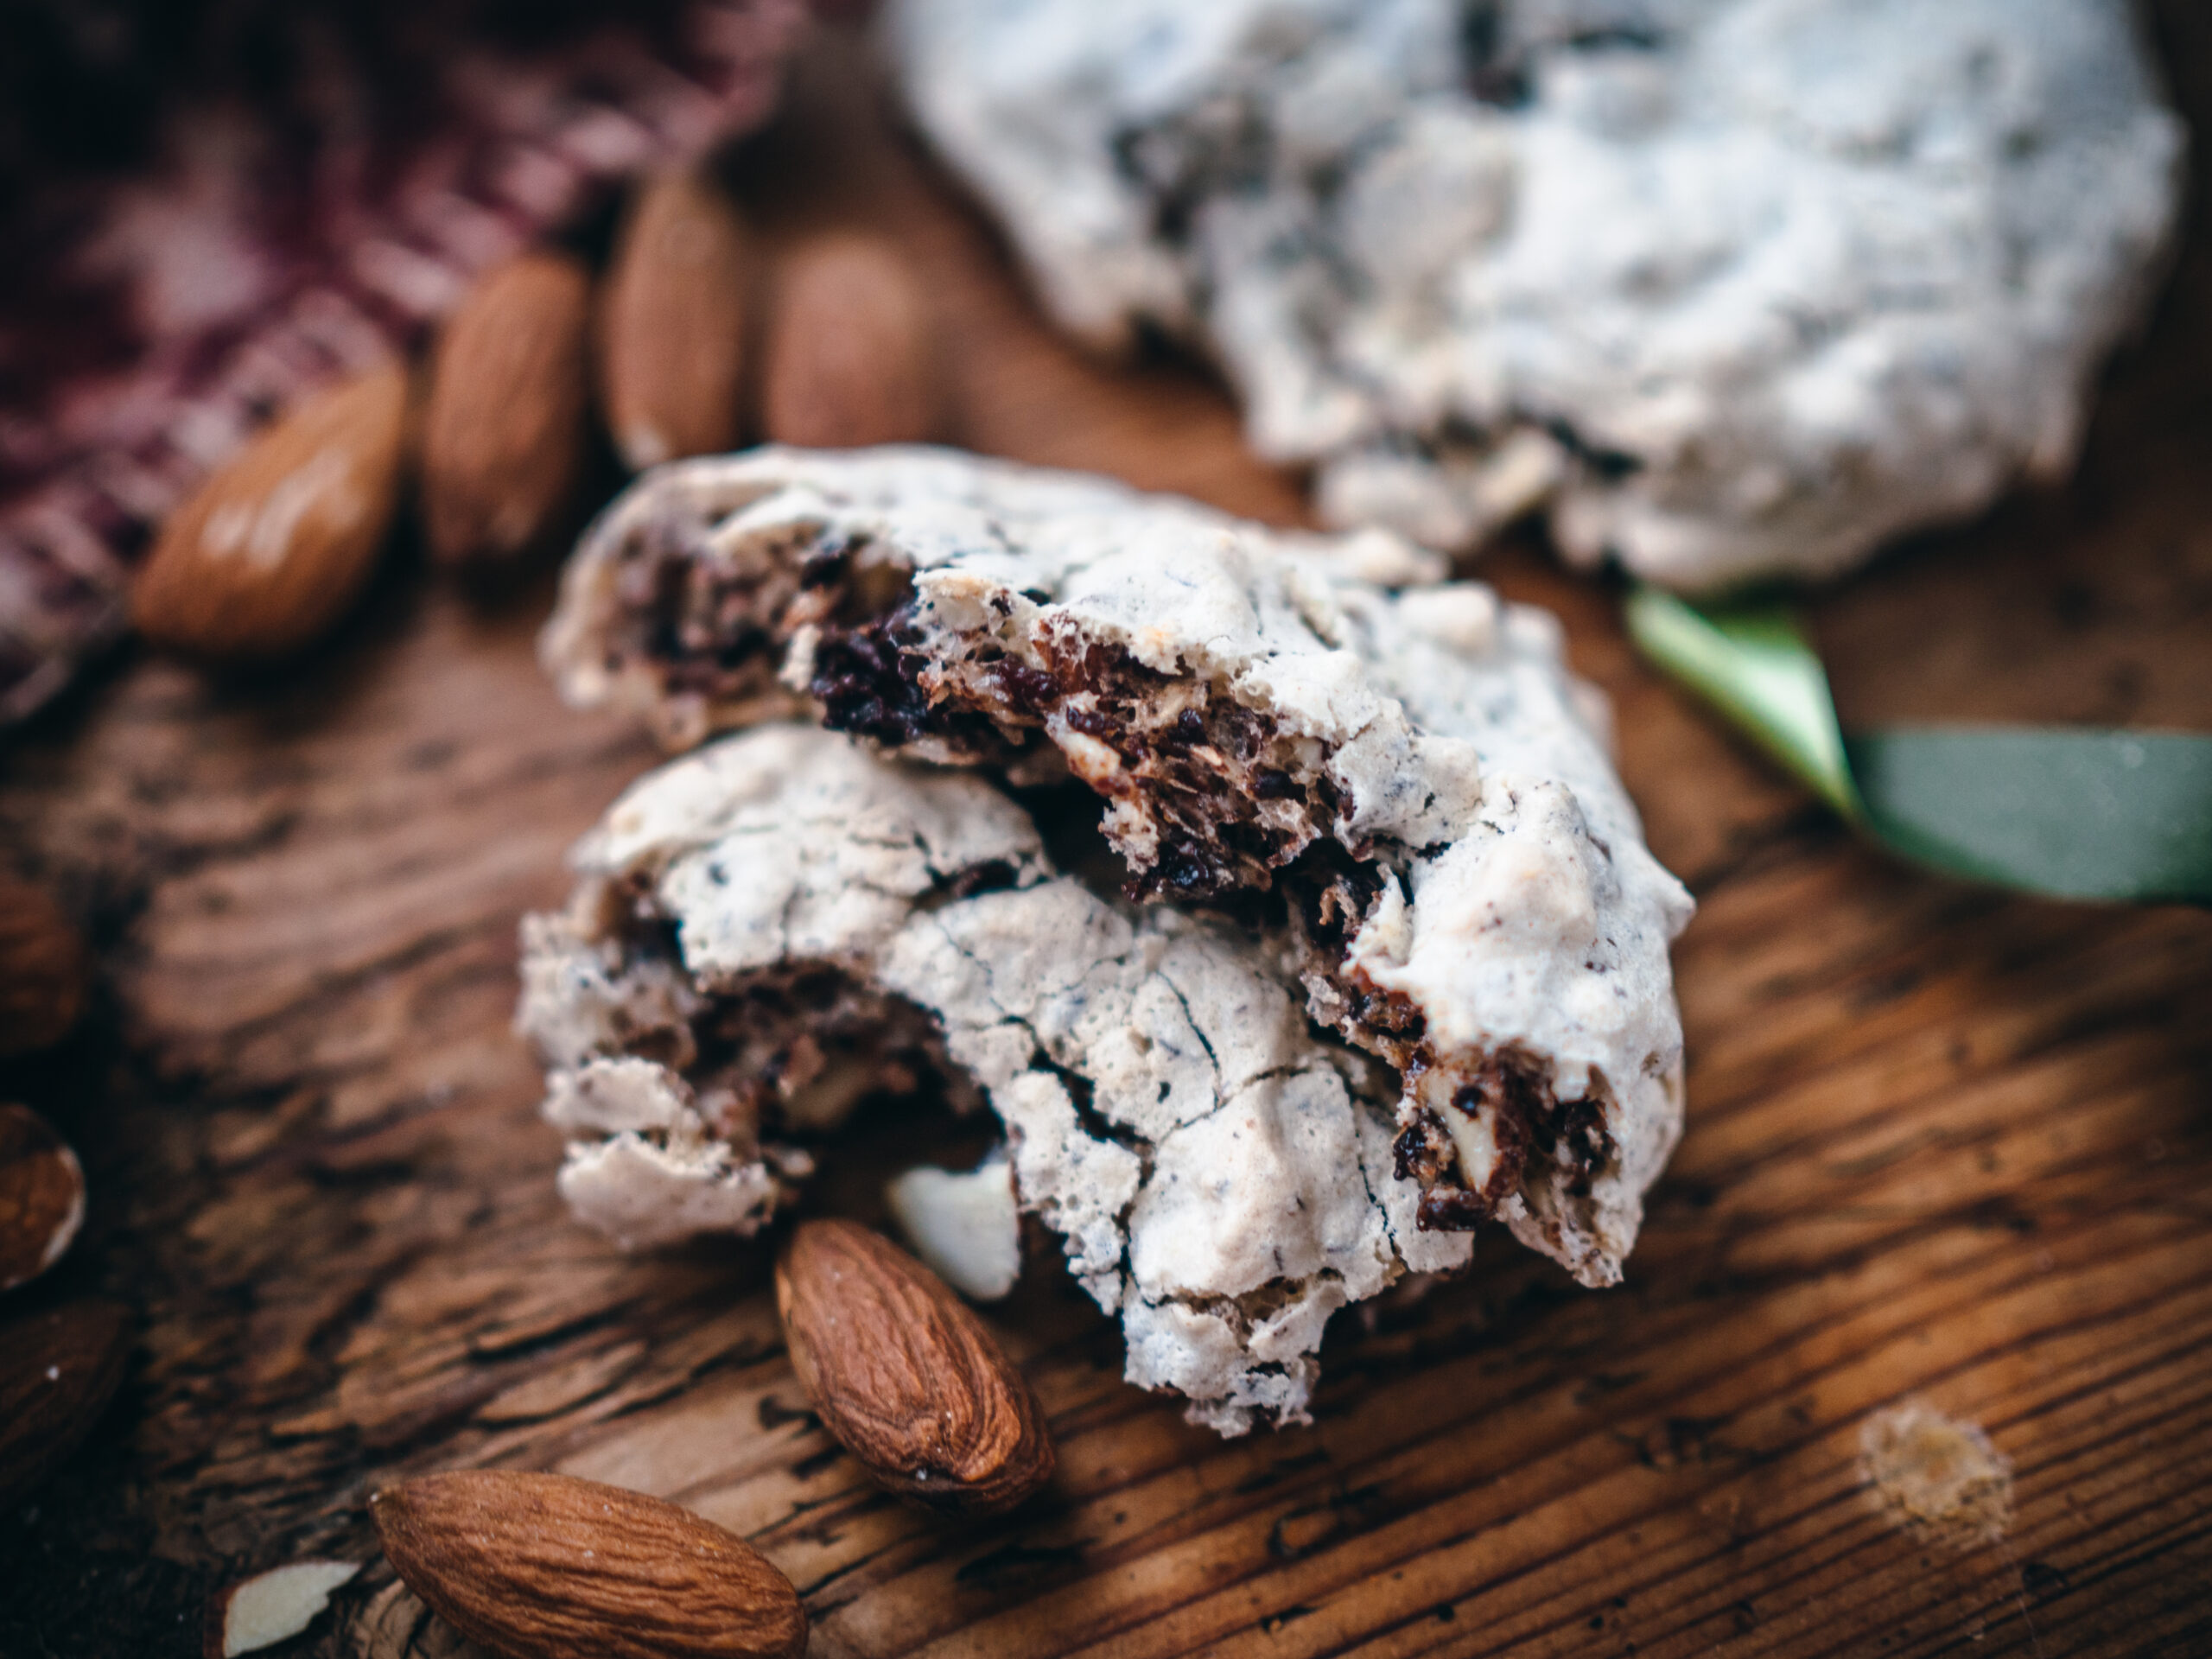
In a food processor, grind the almonds. I like to mine to be a little course, which provides a better texture.
Place the egg whites in a large bowl, reserving the yolks for later use. Beat the egg whites until stiff. Gently fold the powdered sugar and the ground almonds into the stiffened egg whites.
Grease a 9in/24cm springform cake pan (you can also line the bottom with parchment paper) and pour in the batter. Bake at 350°F/180°C for 25-30 minutes. Let it cool completely in the pan before trying to remove it, otherwise the cake might not pull away from the sides as easily.
Make the cream by placing the reserved egg yolks, heavy cream, sugar and vanilla extract in a saucepan over medium heat. Stir constantly and bring to a low boil. Allow the mixture to simmer on low until it thickens. Some will suggest that you take the cream off before it begins to boil to prevent the eggs from curdling, but then you will most likely end up with a runny cream. I recommend letting it simmer until it thickens up. Stirring constantly and allowing the cream to heat up slowly should help prevent the yolks from curdling (but if a little curdling happens, don’t worry!).
Once the cream thickens, take it off the heat and allow it to cool completely.
In a large bowl, add the softened butter and whisk until smooth – this is where an electric whisk comes in handy. Add the cooled cream and whisk together for a minute or so, until well blended and a bit fluffy.
Once the almond bottom has completely cooled, take it out of the springform pan and place it on a serving plate. Top with the cooled cream.
Melt the dark chocolate by placing it in a heat-safe bowl over a pot of simmering water. Drizzle the melted chocolate over the top of the cake with a large spoon or spatula. You can dive in right now, or place in the refrigerator until the chocolate sets.
You can also freeze this cake and serve later on!
Get inspired with these other spring recipes!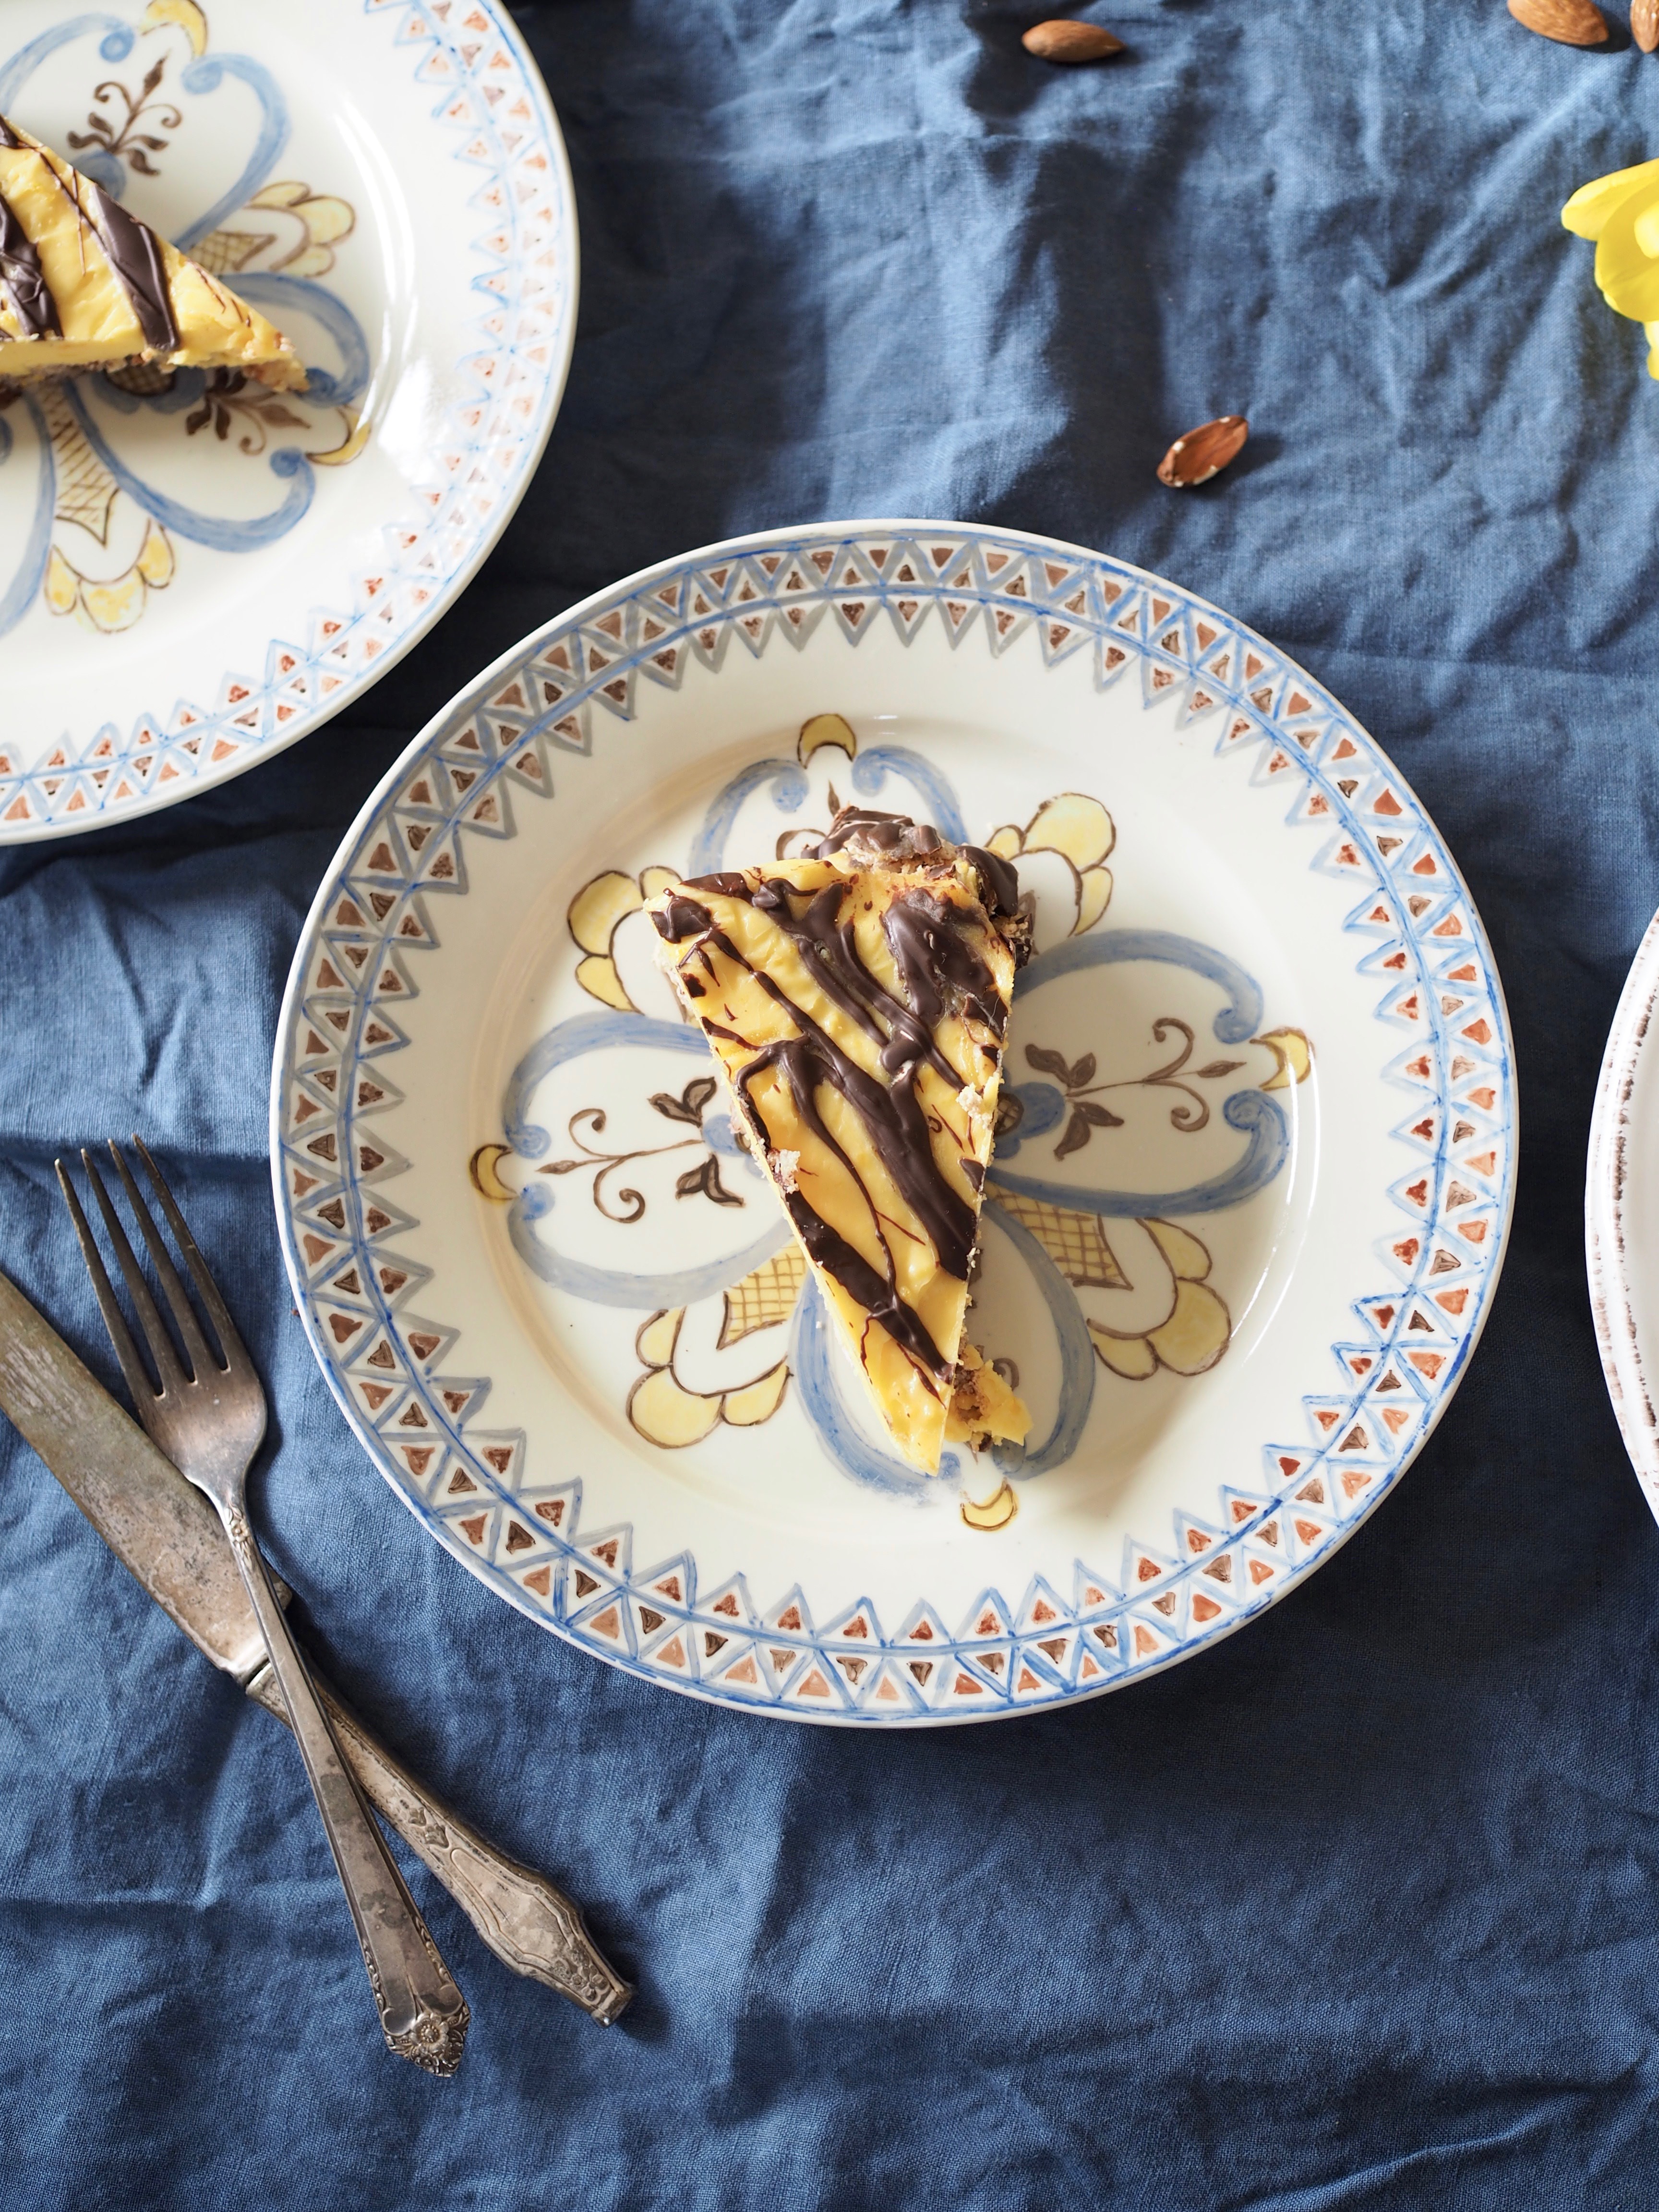
This is definitely a freeze and hide from your kids cake. You’re pictures are gorgeous! Makes me feel like I can reach out and take a bite! (I wish)
Thanks Benny! I think you explained this cake pretty well 😉
This looks and sounds delicious and so easy to make. Can’t wait to try it.
Love your blog too, and what gorgeous photos. And I don’t know much,if anything about Norwegian food, but it’s a country on my list to get to this year now that I’ve finally moved back to Europe (Austria), so hopefully I’ll learn more soon.
Meanwhile, I’ll definitely be back 🙂
Hi Michelle, thank you so much! I’m really glad you came across the blog and I do hope you get to visit Norway one day soon! Welcome back to Europe 🙂
This looks and sounds amazing. Such simplicity. I love all the flecks in the batter 🙂
Thanks Lindsay! It’s a fun (and tasty!) cake to make 🙂
This looks incredible! ! Yum!
Thanks! 🙂
I tried it, but found it way too sweet
Hi Trixi. Yes – it is a very indulgent cake! Luckily, it goes a long way because the slices can’t be too big 🙂
Hello! How long can this be stored in the fridge before serving? I am thinking of making it the night before and serving for lunch, is that acceptable or too long?
Hi! The cake can stay in the fridge for a couple of days. It’s definitely better the second day, so it will taste great when you serve it at lunch 🙂
Wow, this recipe looks so light and wholesome! I love the simplicity of ingredients and ease of preparation!
Thanks Daniela!
Your have captured the wonderful spirit of your home, the culture, the food and the gorgeous landscape. And lovingly added stories of your past and present are the perfect sweet/savory treat to top our recent visit to Norway. I’m a fan
Thank you for your wonderful comment! I really enjoy sharing my Norwegian journey and am so grateful that you are following along 🙂
Hi looks amazing. If I want to freeze the cake can I freeze it with the custard or should I make the custard fresh. Thank you
Hi Kam. You can go ahead and freeze the finished cake with the custard, no need to make the custard fresh (although you certainly could if you wanted to). It will thaw out nicely 🙂
Thank you! ????
Does the base need to be shaped like a bit of a bowl to hold more custard? Mine turned out a bit like a disk with a very thin layer of custard. Can’t wait to try.
Hi Jon. No need to shape the base, it should be flat and the custard will sit nicely on top and firm up even more if placed in the refrigerator or freezer. The cake will not be very tall, around 1 to 1 1/4 inches in height. You can also double the recipe to make it thicker if you wish.
Just had a visit to Norway with family. Daughter went crazy over the cake which was baked by ships chef. Thus the recipe. I do a lot of baking and am hoping to make it soon. Not for me but a treat for others.
I hope everyone enjoys this one! 🙂
Is the butter used salted or unsalted?
Thanks!
The butter that I use here in Norway is lightly salted. You can choose unsalted or lightly slighted.
This cake is very delicious , and it is Glutenfree. And the cake melted in the mouth.
Thanks a lot for the recipe
So glad you enjoyed it!