


Settekake is simply a yeast-leavened flatbread, similar to pita, that’s round, about 1 to 2 cm thick, and cooked on top of a hot griddle “takke” or a hot stone. Settekake is known by many names across Norway depending upon the region and the recipe – klappakake, estelumpe, glokake, hellekake, åskestomp, syrekake, asningskaku, es-stomp, and I’m sure many more. It’s unknown when yeast began being used in Norwegian baking, but it’s thought that once people started adding yeast to the breads, some continued to call the breads the same names they used for those without yeast. (Source)
Before the use of ovens, yeast breads were cooked on griddles, hot stones, or in pots. This method of baking meant the breads needed to be round and thinner than a normal bread baked in an oven. Hence, the breads would cook quickly with a golden-brown exterior and a soft interior.
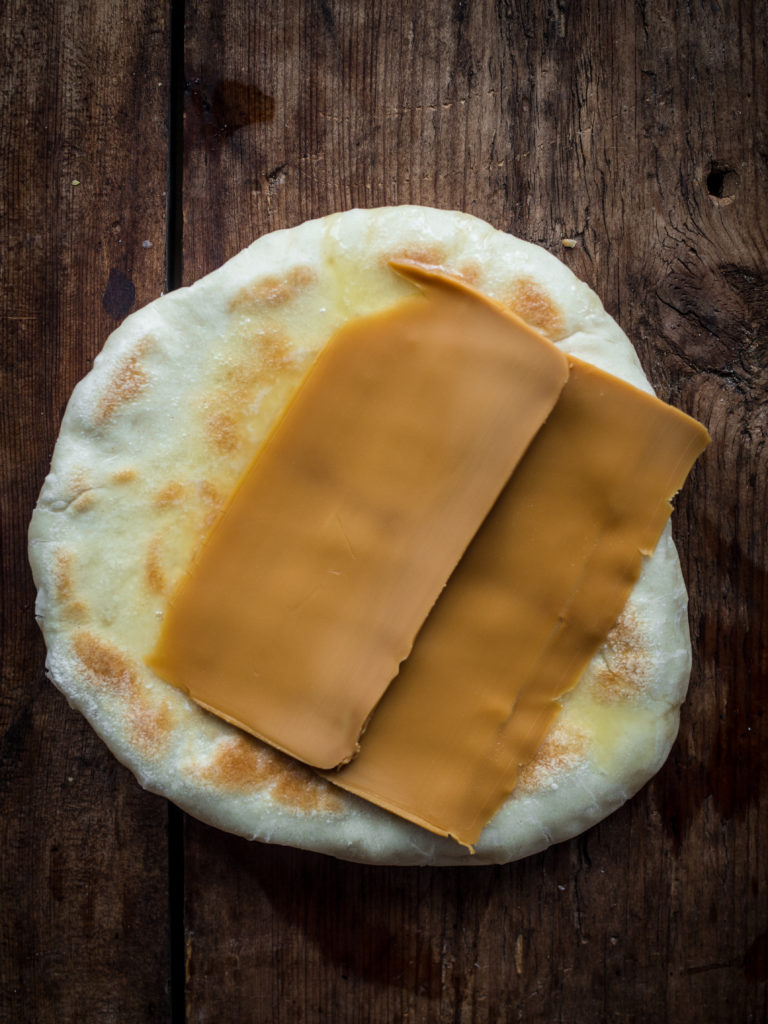
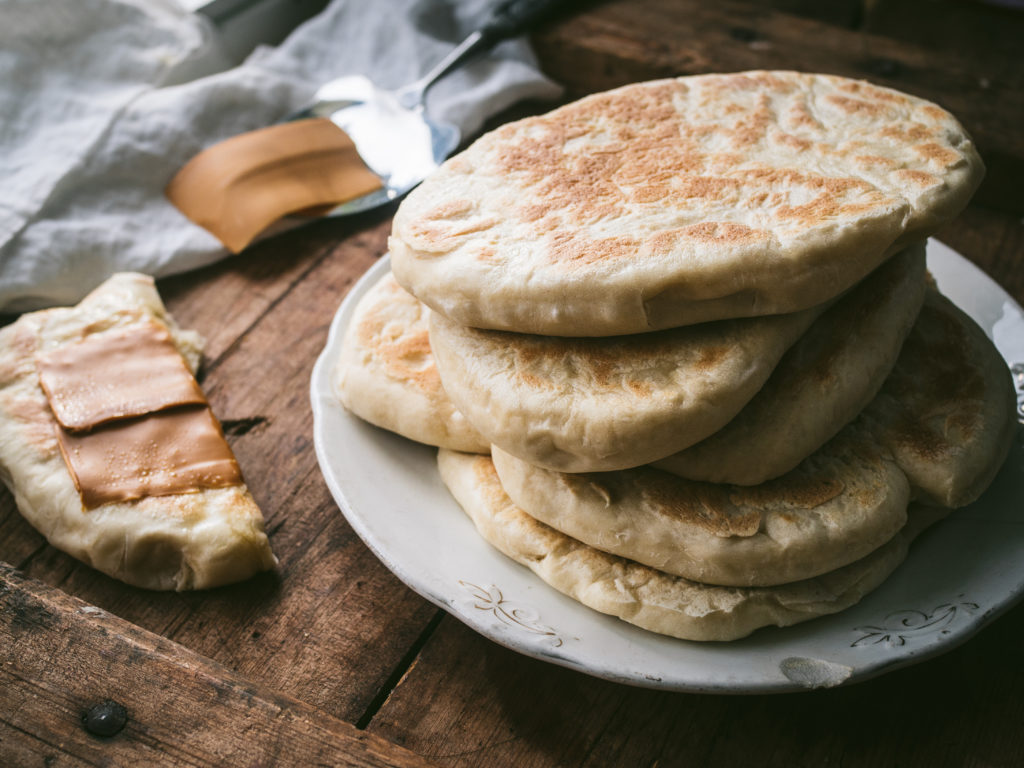
These breads are especially delicious straight off the griddle – warm and toasty. A slab of good butter melting into a yellow puddle on top and a couple slices of brunost sticking to it makes for one traditional and delicious moment. The versatility of this type of bread means you can serve it as treat with jam, as a savory wrap, or with a good, thick stew.
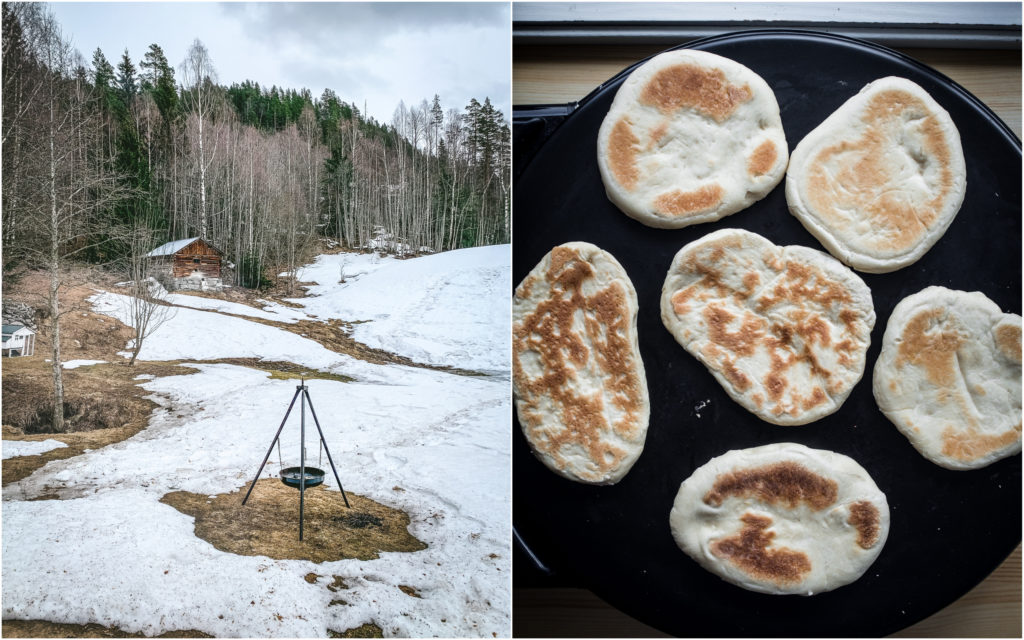
If you head outdoors, just take the dough with you in a container and cook small pieces flattened with your hands over an open fire or gas stove for a wonderful campfire meal, or turmat.
Settekake (Norwegian Yeast Bread)
Makes 10 breads
- 1 cup plus 2 teaspoons (250 ml) milk
- 1 cup plus 2 teaspoons (250 ml) water
- ¼ cup (56 g) butter
- 7 cups (840 g) all-purpose flour*
- 2 ounces (50 g) fresh yeast or 2/3 ounce (17 g) active, dry yeast**
- 1 teaspoon salt
In a small saucepan, warm the milk, water and butter over medium-low heat, until the butter has melted, and the liquid is just warm to the touch. If using fresh yeast, stir it into milk mixture until fully combined.
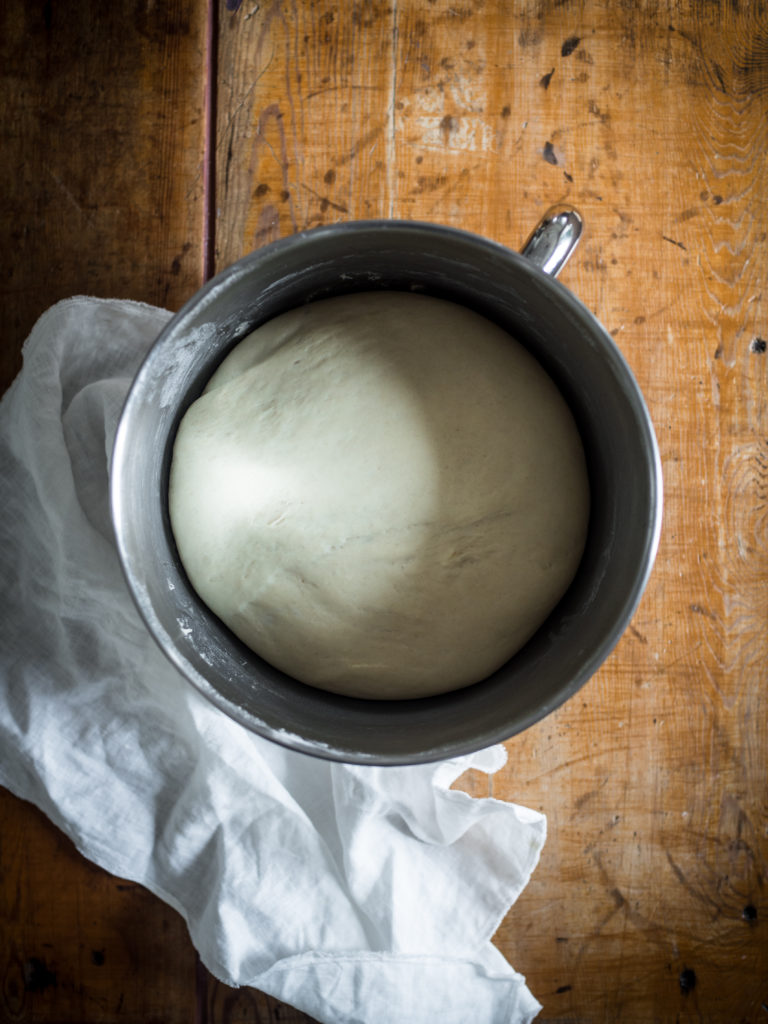
In the bowl of a stand mixer fitted with the dough attachment, add the flour, dry yeast if using instead of fresh yeast, and salt. Pour in the milk mixture and knead on medium speed for 5 minutes, or until the dough is soft and pliable. Place in a large bowl, cover with a tea towel, and let rise for 45 minutes, or until doubled in size.
Place the dough on a lightly floured surface and divide into 10 equal pieces. Roll out each piece to make a circular shape that is about 6-inches (15 cm) in diameter and ½-inch (1 cm) thick. Cover with a tea towel.
Warm a dry, large griddle “takke” or frying pan over medium heat. Place as many of the breads on the heated griddle or pan as will fit and cook each side for about 5 minutes, or until golden and cooked through. Serve warm with melted butter and brown cheese or jam, alongside stew, or as a wrap.
*You can also use spelt, whole wheat, rye, barley, or a combination of the flours – just be sure to start with a little less flour and add more as needed to get a pliable, but not dry, dough
**Check the container of your yeast, some brands provide the conversion for you. For instance, in Norway, I find the equivalent of 50 g fresh yeast is 6.5 g of dry yeast or ½ a package.


Hey!
Just stumbled upon your page, its very neatly set up, looks good and its nice to discover all these different traditional meals.
Quick question; i have been taken by sourdough baking lately – do you have experience with sourdough starters, and would you use the same amount as you would fresh yeast?
Hey!
Very strange, im certain i left a comment on this a few days ago. Anyways, im trying this recipe with a sourdough starter instead of yeast. Am very excited.
In my previous comment i wondered if you had any experience with sourdough starters and in case you do, how much would you use for this. I found a conversion and ended up using 220gr starter and 110gr less water and 110gr less flour since that’s contained in the starter.
Your website is very neatly set up and easy to navigate, the recipes and photos are also very nice. Thanks for the inspiration 🙂
Hi Troy! Thanks for your comment! How did the recipe turn out with the sourdough starter? I have only made them with yeast, so I don’t have the exact conversations if substituting with a starter. I’m very curious to know how it worked for you 🙂
Hello again, Nevada!
Sorry for double comments above, the first one was still up for moderation when i posted my first 🙂
Im back to make this again, for som Pita Chicken Gyros.
They were really great last time around, and they were very close to a greek pita in my opinion. This time around i will again go for sourdough starter but this time im gonna baste them with a oliveoil/salt/oregano mixture. I’ll either pull em at half done to baste and finish grilling or ill baste them while raw, we shall see tomorrow.
The big difference when using sourdough starter is that it takes more time. It took about a total of 3-4 hours from mixing to frying.
I also tried your wild nettle soup, it was superb!
Thanks again for the recipes and the inspiration 🙂
Hi Troy, thanks for the update! I bet the olive oil, salt and oregano mixture on them was just divine! I’ll have to try some additional flavors the next time I make a batch as well. And very happy you enjoyed the nettle soup! 🙂
Re: Troy’s Sourdough starter. I spoke with an Italian friend this weekend who describes making pancakes with her ‘waste’ sourdough starter (instead of throwing or giving it away). I guess this is pretty much the same thing. (She also makes thin crackers). These look delicious, by the way!